Table of Contents
Projection Method | First And Third Angle Projection | Difference
Projection Methods:
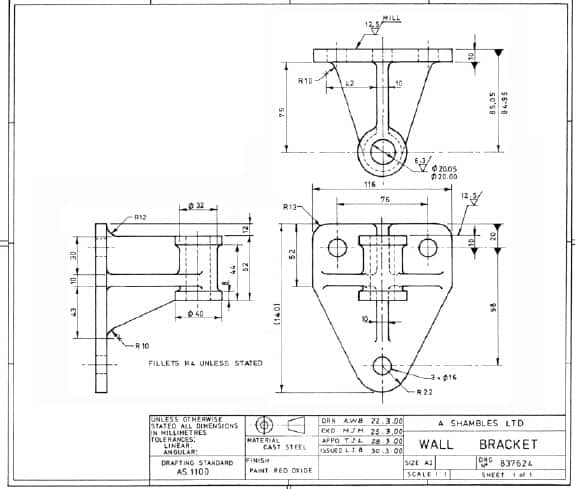
Projection Methods are used to show drawing on a paper . Projection Methods has mainly two types used in Engineering Drawing :
1) First Angle Projection Method
2) Third Angle Projection Method

First Angle Projection
In this the object in assumed to be positioned in the first quadrant and is shown in figure.

The object is assumed to be positioned in between the projection planes and the observer. The views are obtained by projecting the images on the respective planes. Note that the right hand side view is projected on the plane placed at the left of the object. After projecting on to the respective planes, the bottom plane and left plane is unfolded on to the front view plane. i.e. the left plane is unfolded towards the left side to obtain the Right hand side view on the left side of the Front view and aligned with the Front view. The bottom plane is unfolded towards the bottom to obtain the Top view below the Front view and aligned with the Front View.
Third Angle Projection

Difference between first- and third-angle projections

Symbol of projection

More Resources /articles
Fluid Mechanics - Notes , articles , Interview Que. & Ans
Engineering Drawing- Articles , Notes , Interview Q & A
Mechanical Subjectwise Basic Concept Notes ,Articles
Latest seminar topic index - Report ,PPT Download
Latest seminar topic index - Report ,PPT Download
3 thoughts on “Projection Method | First And Third Angle Projection | Difference”
Leave a Reply
Recent Posts
Mechanical Engineering is an essential discipline of engineering encompassing many specializations, with each contributing its unique aspect to the dynamic and inventive nature of this field. With...
The Ram Lalla idol, which is installed at Ayodhya's Ram temple has many significant religious symbols from Hinduism. All 10 incarnations of Lord Vishnu are engraved on the idol. Notably, Lord Ram is...


thank you
Thank you..